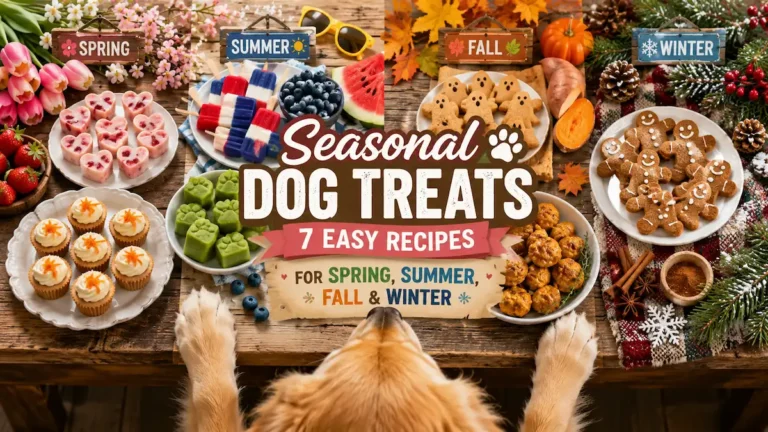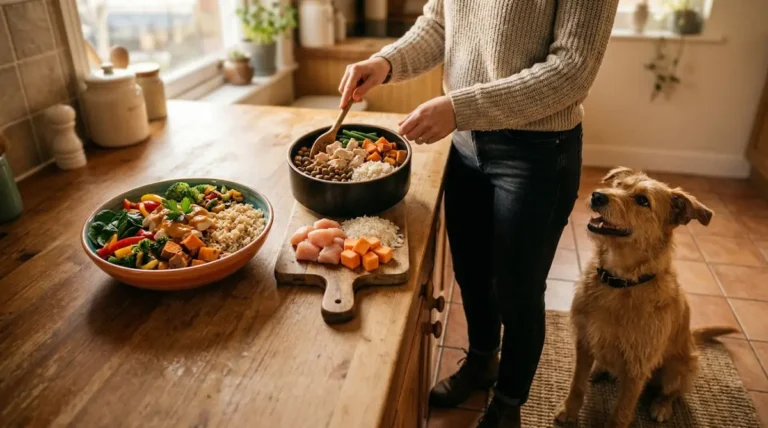

Let’s be real — you could spend a small fortune on store-bought training treats that smell like sadness and cardboard. Or you could spend 20 minutes in the kitchen making something your dog will actually lose their mind over.
High-value dog treats for training are the secret weapon every dog owner needs, and the good news? Most of them use ingredients you already have.
Whether you’re working on basic commands, recall training, or just trying to convince your dog that the vacuum cleaner is not, in fact, a portal to the underworld — the right treat makes all the difference.
These 10 dog treats for training recipes are small, soft, smelly (in the best way), and absolutely irresistible to dogs. Let’s get baking.
1. Chicken Liver Bites — The Gold Standard of Training Treats
If there’s one treat that consistently turns even the most distracted dog into a focused, eager-to-please student, it’s chicken liver. Trainers have been using these for decades, and honestly, the hype is completely justified.
Chicken Liver Bites — The Gold Standard of Training Treats
Irresistible, nutrient-dense & thumbnail-sized
Ingredients
500g chicken livers
blended smooth with egg
1 egg
blended with livers
½ cup whole wheat flour
stirred in for thick batter
1 tsp garlic-free seasoning
optional
Instructions
Preheat oven to 180°C (350°F) and line a baking tray with parchment paper.
Blend chicken livers and egg together until smooth.
Stir in flour until you get a thick, paste-like batter.
Spread mixture evenly onto baking tray about 1cm thick.
Bake for 20 minutes, then cool completely.
Cut into tiny thumbnail-sized squares for training treats.
Why You’ll Love It
These are pungent — and that’s exactly the point. The stronger the smell, the higher the value to your dog.
I once brought a batch to an outdoor training class and every single dog in the vicinity suddenly forgot who their owner was. Powerful stuff. Store them in the fridge for up to five days or freeze in batches.
2. Peanut Butter & Banana Training Drops
Quick, easy, and made with ingredients that feel more like a smoothie than a dog treat. Your dog will absolutely not care about the distinction.
Peanut Butter & Banana Training Drops
4 ingredients, pea-sized & perfect for high-rep rewarding
Ingredients
1 ripe banana
the riper the better — natural sweetness, no added sugar needed
2 tbsp natural peanut butter
⚠️ Xylitol-free — always check the label
1 cup oat flour
forms the base of the dough
1 egg
binds everything together
Instructions
Mash the banana thoroughly in a mixing bowl.
Add peanut butter and egg, then mix until fully combined.
Stir in oat flour until a soft dough forms.
Roll into tiny pea-sized balls and place on a lined baking tray.
Bake at 175°C (345°F) for 12–15 minutes until lightly golden.
Cool fully before using.
🎯 Training tip: Pea-sized = more treats per session without overfeeding. One batch yields 80–100 drops — enough for a full week of training. Store in an airtight container for up to 5 days, or freeze for up to 3 months.
Why You’ll Love It
These are soft, which is perfect for puppies or senior dogs with sensitive teeth.
FYI, the banana keeps them moist longer than you’d expect — they stay soft and chewy for days in the fridge. IMO, this is the most beginner-friendly recipe on the list.
3. Tuna & Cream Cheese Squares
I know, I know — tuna in the kitchen means committing to the smell for a while. But if you want a training treat that your dog will sprint across a field for, this is it.
Tuna & Cream Cheese Squares
4 ingredients, irresistibly smelly & soft enough to break into pieces
Ingredients
1 can tuna in spring water
drained well — not in oil or brine
3 tbsp cream cheese
plain, full-fat — no flavored varieties
1 egg
binds the dough and adds richness
¾ cup whole wheat flour
gives structure and a slight chew
Instructions
Preheat oven to 180°C (350°F).
Mix tuna, cream cheese, and egg together in a bowl until well combined.
Add flour and stir to form a soft dough.
Press into a greased baking tray or silicone mold in a thin, even layer.
Bake for 18–20 minutes until set and slightly firm.
Cool completely, then cut into small squares.
🐟 Smell warning: Your kitchen will smell intensely of tuna during baking — open a window. Your dog, however, will be absolutely beside themselves. Store in the fridge for up to 5 days or freeze for up to 3 months.
Why You’ll Love It
The cream cheese binds everything together and gives these a soft, slightly chewy texture that’s easy to break into even smaller pieces mid-training. These are especially brilliant for recall training — the smell travels far. Fair warning: open a window 🙂
4. Sweet Potato & Turkey Soft Chews
Sweet potato is basically a superfood for dogs. Pair it with lean turkey mince and you’ve got a training treat that’s as nutritious as it is effective.
Sweet Potato & Turkey Soft Chews
Grain-free, tender & easy to cut into any shape
Ingredients
150g cooked sweet potato
mashed smooth before mixing
200g lean ground turkey
raw — cooks through in the oven
1 egg
binds and adds moisture
½ cup coconut flour
grain-free binder — absorbs moisture quickly
Instructions
Preheat oven to 175°C (345°F).
Mix mashed sweet potato, turkey, and egg together until fully combined.
Add coconut flour and stir into a thick, workable dough.
Roll out to about 1cm thick on a floured surface.
Cut into small shapes with a knife or mini cookie cutters.
Bake for 20–22 minutes until cooked through.
Cool completely before storing.
🥥 Coconut flour note: It absorbs liquid fast — if the dough feels too dry or crumbly, add a teaspoon of water at a time until it holds together without sticking to your hands. Store in the fridge for up to 5 days or freeze for up to 3 months.
Why You’ll Love It
These are slightly denser than the other recipes, which means they’re great for longer training sessions — they don’t crumble into dust the second you put them in your treat pouch. The sweet potato adds a subtle sweetness that dogs go absolutely wild for.
5. Sardine & Parsley Training Nibbles
Before you scroll past this one — sardines are one of the most nutrient-dense foods you can give your dog. Omega-3s, protein, and a smell that dogs consider absolutely five-star dining.
Sardine & Parsley Training Nibbles
Tiny, high-value & working hard on that breath situation
Ingredients
1 can sardines in water
drained — not in oil or tomato sauce
1 tbsp fresh parsley, chopped fine
✦ It genuinely helps with the breath situation
1 egg
binds the dough together
1 cup oat flour
gives body and structure to the dough
Instructions
Mash the sardines in a bowl until smooth.
Add parsley, egg, and oat flour.
Mix into a thick dough.
Roll into tiny balls or press flat and cut into squares.
Bake at 180°C (350°F) for 15–18 minutes.
Cool completely before storing.
🪟 Smell warning: Open a window — sardines baking is an experience. Worth it though: the stronger the smell, the higher the training value. Store in the fridge for up to 4 days or freeze for up to 3 months.
Why You’ll Love It
The parsley isn’t just decorative — it genuinely helps neutralize some of that fishy breath, which your face will appreciate when your dog decides to celebrate a successful training session by licking you. These freeze beautifully too, so make a double batch.
6. Beef & Cheddar Training Bites
Think of these as the fancy steakhouse experience of dog treats. Ground beef plus sharp cheddar is a combination that basically no dog on earth can resist.
Beef & Cheddar Training Bites
Bold, cheesy & impossible for dogs to ignore
Ingredients
200g lean ground beef
browned, drained, and cooled before mixing
¼ cup grated cheddar cheese
the secret weapon — dogs go absolutely wild for cheese
1 egg
binds everything into a firm layer
½ cup brown rice flour
mild flavour, easy on digestion
Instructions
Brown ground beef in a pan and drain any fat. Let it cool completely before the next step.
Preheat oven to 175°C (345°F).
Mix the cooled beef, cheddar, egg, and flour together until combined.
Press into a thin, even layer on a parchment-lined baking tray.
Bake for 20 minutes until firm throughout.
Cut into small squares and cool completely before storing.
🧀 Cheese tip: The cheddar melts into the mixture during baking — don’t expect to see visible cheese pockets. What you will get is a deeply savory smell that makes dogs forget their own name. Store in the fridge for up to 5 days or freeze for up to 3 months.
Why You’ll Love It
The cheddar gets slightly toasty in the oven, which takes the flavor profile to another level. Honestly, I had to stop myself from trying one — they smell that good.
These are particularly brilliant for dogs who are easily distracted in high-stimulus environments, because the scent cuts through everything.
7. Pumpkin & Oat Soft Treats
Not every training treat needs to be intensely meat-forward. These gentle, mildly sweet treats are perfect for puppies, sensitive stomachs, or dogs who need a lower-calorie option without sacrificing motivation.
Pumpkin & Oat Soft Treats
Gentle on the gut, soft on the teeth & done in under 30 minutes
Ingredients
½ cup plain canned pumpkin
⚠️ Not pie filling — check the label
1 cup rolled oats
✦ Blended into a rough flour before mixing
1 egg
binds the dough together
1 tbsp plain Greek yogurt
adds moisture and a probiotic boost
Instructions
Blend the rolled oats into a rough flour — a few pulses in a blender or food processor is all it takes.
Mix pumpkin, egg, and yogurt together in a bowl.
Add oat flour and stir to form a soft dough.
Roll into small balls or flatten and cut into tiny shapes.
Bake at 175°C (345°F) for 12–15 minutes.
Cool completely before use.
🌾 Oat flour tip: No blender? A zip-lock bag and a rolling pin work just fine — rough texture is totally okay here, it just adds a bit more chew. Store in the fridge for up to 5 days or freeze for up to 3 months.
Why You’ll Love It
These are wonderfully soft and gentle — ideal for young pups who are still figuring out the whole chewing thing.
The pumpkin keeps them moist for several days in the fridge, and the Greek yogurt adds a subtle tang that dogs seem to love. Mild, wholesome, and zero drama — which, honestly, is more than I can say for most baking projects.
8. Cheese & Rosemary Crunch Bites
Sometimes you want a slightly firmer treat — one that’s crunchy enough to create that satisfying click-sound in your hand when you break off a piece. These deliver exactly that.
Cheese & Rosemary Crunch Bites
Savory, crisp & aromatic — the biscuit that smells like a fancy kitchen
Ingredients
1 cup whole wheat flour
forms the crispy base of the dough
½ cup grated parmesan cheese
finely grated for even distribution throughout the dough
2 tbsp olive oil
creates a short, crumbly texture
½ tsp dried rosemary
✦ Crushed fine — releases the aroma and distributes evenly
4–5 tbsp water
add one tablespoon at a time until dough just comes together
Instructions
Preheat oven to 180°C (350°F).
Mix flour, parmesan, and rosemary together in a bowl.
Add olive oil and mix until the mixture looks crumbly.
Add water one tablespoon at a time until a firm dough forms — stop as soon as it holds together.
Roll thin — about 5mm — and cut into small shapes.
Bake for 18–20 minutes until golden and crisp.
Cool completely — they firm up further as they cool. Don’t judge the crunch straight from the oven.
⏳ Patience tip: These look done before they are. Let them cool fully on a wire rack — the parmesan continues to crisp as it sets. Store in an airtight container for up to 2 weeks. No fridge needed.
Why You’ll Love It
The parmesan is the secret here. It bakes into this incredible savory crunch that dogs absolutely adore.
These also have a longer shelf life than the soft treats — keep them in an airtight container at room temperature for up to a week. Great for training bags since they don’t get squishy and weird.
9. Lamb & Mint Soft Squares
Lamb is a fantastic protein source for dogs, especially those with sensitivities to chicken or beef. The mint? Purely for the humans in the room who have to deal with the post-training breath situation.
Lamb & Mint Soft Squares
Novel protein, gentle on digestion & naturally breath-friendly
Ingredients
200g ground lamb
cooked, drained, and cooled before mixing
1 tsp dried mint
✦ Dog-safe and a natural breath freshener
1 egg
binds the mixture into a clean, cuttable slab
½ cup oat flour
mild and easy on sensitive stomachs
Instructions
Cook ground lamb in a dry pan until fully browned. Drain and cool completely before mixing.
Preheat oven to 175°C (345°F).
Mix cooled lamb, mint, egg, and oat flour until fully combined.
Spread into a thin, even layer on a lined baking tray.
Bake for 18–20 minutes until set and firm to the touch.
Cool completely, then cut into small squares.
🐑 Novel protein note: Lamb is a great option for dogs with chicken or beef sensitivities. Pair it with the mint and you’ve got a treat that’s both allergy-friendly and surprisingly pleasant to be near. Store in the fridge for up to 5 days or freeze for up to 3 months.
Why You’ll Love It
Ground lamb has a richer, slightly gamier flavor compared to chicken or turkey — and dogs who’ve tried it before will practically vault through a wall to get to it. These are high-value in the truest sense of the phrase.
If your dog has ever turned their nose up at chicken treats, switch to lamb and prepare to be amazed.
10. Carrot & Apple Training Nuggets
Wrapping up with a plant-forward option that’s as cheerful as it sounds. These are light, slightly sweet, and genuinely fun to make — the kind of recipe you’d pull out when your kids want to “help cook something for the dog.”
Carrot & Apple Training Nuggets
Naturally sweet, veggie-packed & low-guilt for high-rep sessions
Ingredients
1 medium carrot, finely grated
adds natural sweetness and beta-carotene
½ apple, peeled and finely grated
⚠️ Cored, no seeds — apple seeds are toxic to dogs
1 egg
binds the dough together
1 cup whole wheat flour
gives structure and a satisfying chew
1 tbsp honey
✦ Optional — use sparingly, a little goes a long way
Instructions
Preheat oven to 175°C (345°F).
Mix grated carrot, apple, and egg in a bowl.
Add flour and honey (if using) and stir to form a soft dough.
Roll into tiny balls or press flat and use a small cutter.
Bake for 15–18 minutes until lightly golden.
Cool fully before using.
🍯 Honey note: A little adds a subtle sweetness dogs love — but keep it minimal. Too much sugar in training treats adds up fast across a session. Skip it entirely for diabetic or overweight dogs. Store in an airtight container for up to 5 days or freeze for up to 3 months.
Why You’ll Love It
These are the treat equivalent of a sunny afternoon — light, happy, and totally unpretentious.
They work brilliantly for puppies and dogs on lower-calorie diets, and the apple-carrot combo gives them a freshness that sets them apart from every other treat on this list. Plus, they make your kitchen smell like you’re baking something genuinely lovely 🙂
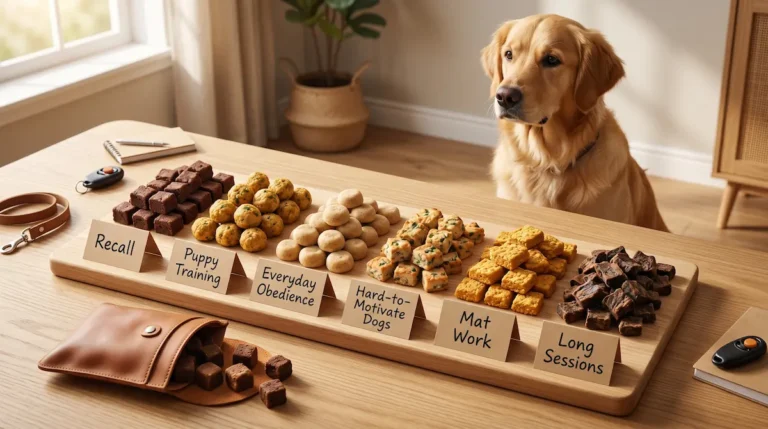
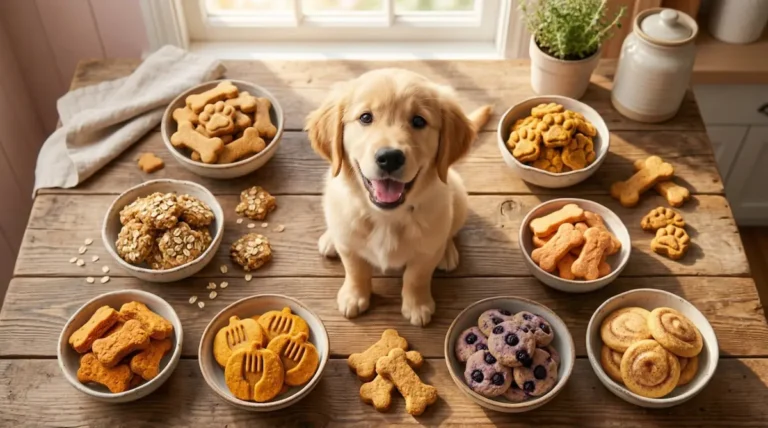
A Few Quick Tips Before You Start Baking
✅ Keep treats small. Training treats should be pea-sized at most. You might be doing 50–100 repetitions in a single session — you don’t want to accidentally overfeed.
✅ Soft beats crunchy for fast-paced training. Soft treats are consumed quickly, which means less chewing, faster reward, and better focus. Save the crunchy ones for calmer reward moments.
✅ Smell matters more than taste. Dogs experience food primarily through smell, so the more aromatic the treat, the higher its perceived value. That’s why liver and fish consistently top trainer recommendation lists.
✅ Rotate your treats. Even high-value treats lose their magic if your dog gets them every single day. Keep a rotation going to maintain that motivated, “what IS that amazing thing?!” energy.
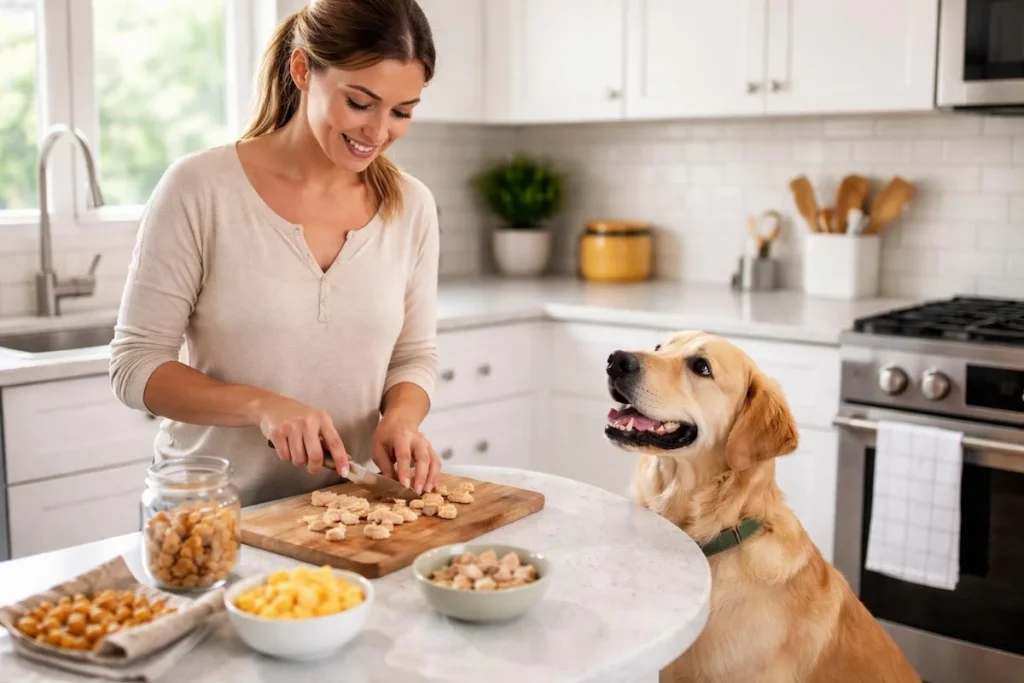
The Bottom Line
Making your own high-value dog training treats isn’t complicated, expensive, or time-consuming — it just takes a little planning. The ten recipes here cover every training scenario, from basic puppy work to serious distraction-based recall, and they’re all made with real, whole ingredients you can actually feel good about.
Pick two or three recipes that match your dog’s preferences and your own kitchen comfort level, batch-make them on a Sunday, and watch your training sessions transform. Your dog gets better treats. You get a more focused, motivated training partner. And honestly? You get the quiet satisfaction of knowing exactly what’s going into every single bite.
That’s a win for everyone involved — even the vacuum cleaner.