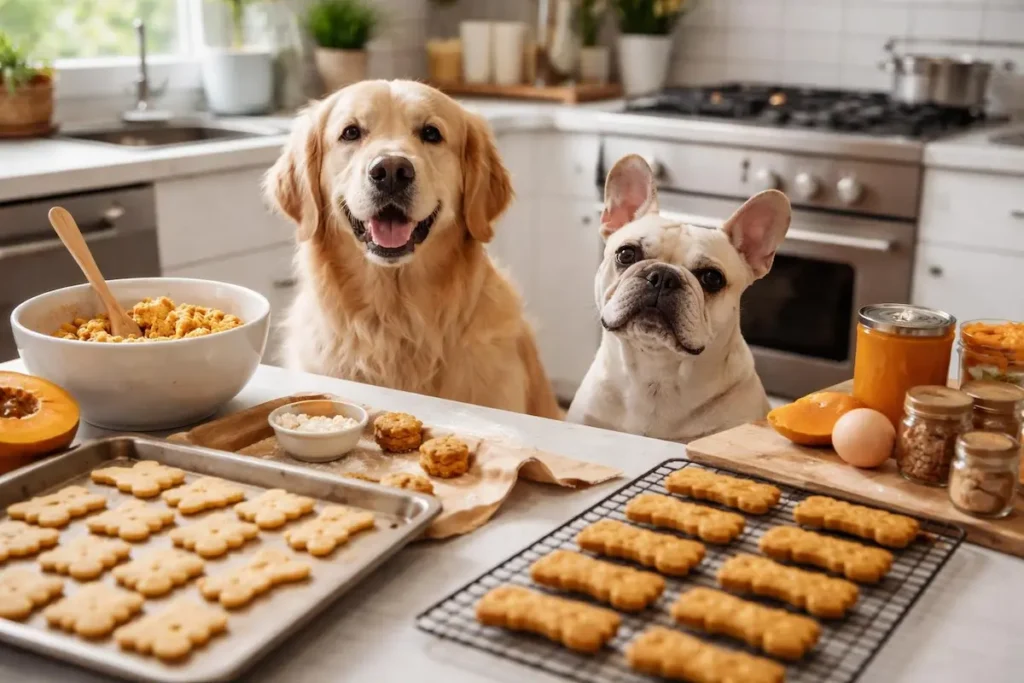
Here’s the thing about pumpkin baked dog treats—they’re ridiculously easy to make, your dog will lose their absolute mind over them, and you’ll actually know what’s going into your furry friend’s belly. No mystery ingredients, no weird preservatives, just wholesome stuff that makes tails wag.
I started making these crunchy pumpkin biscuits after my Golden Retriever, Biscuit, developed some stomach issues. The vet suggested more fiber, and honestly? These treats turned out to be the MVP of his recovery. Now he sits by the oven every time I bake a batch, doing his “please love me” eyes. Works every time 🙂
Pumpkin is basically a superfood for dogs—packed with fiber, vitamins A and C, and it helps with digestion whether your pup has the runs or the opposite problem (TMI, but it’s true). Plus, making your own treats means you control the ingredients completely. No sketchy fillers, no weird corn syrup, just good stuff.
Ready to become your dog’s favorite human? Let’s get baking.
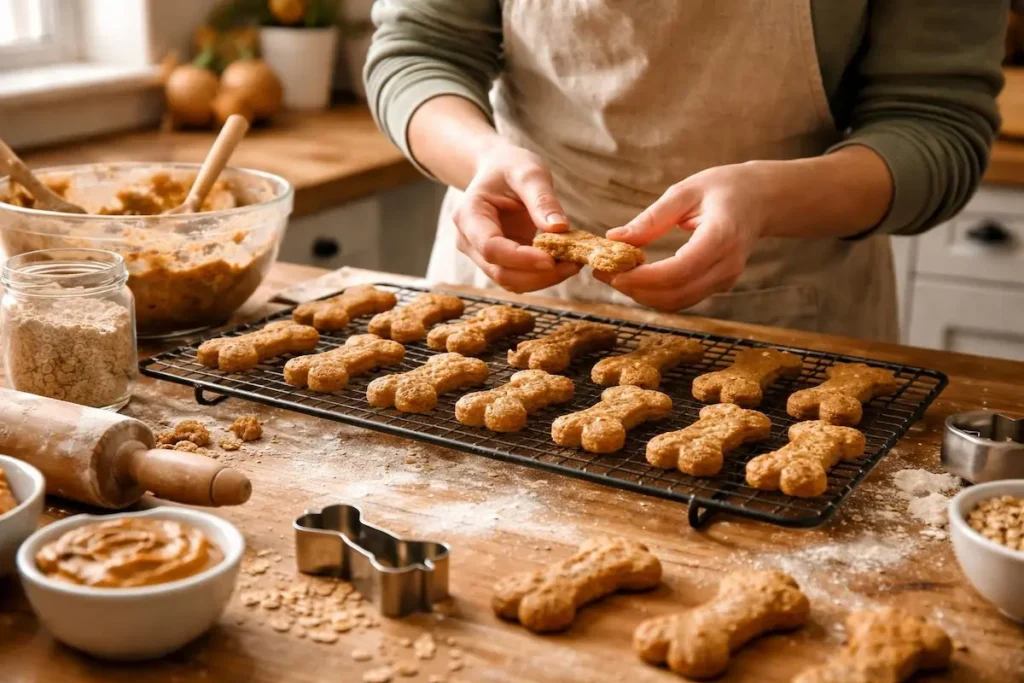
1. Classic Crunchy Pumpkin Dog Biscuits
This is your go-to recipe—the one you’ll make on repeat because it’s foolproof and dogs go absolutely bananas for it.
Ingredients
- 1 cup pure pumpkin puree (NOT pumpkin pie filling—that’s got sugar and spices)
- 2 ½ cups whole wheat flour (plus extra for rolling)
- 2 large eggs
- 3 tablespoons peanut butter (xylitol-free! Check that label twice)
- ½ teaspoon cinnamon (dogs can have cinnamon, and it’s good for inflammation)
Step-by-Step Instructions
1. Preheat your oven to 350°F and line two baking sheets with parchment paper. Don’t skip the parchment—cleanup is way easier.
2. Mix the wet ingredients in a large bowl: pumpkin puree, eggs, and peanut butter. Stir until everything’s combined and looking smooth.
3. Add the flour and cinnamon gradually. The dough will be thick and slightly sticky. If it’s too wet to work with, add a tablespoon of flour at a time until it holds together.
4. Dust your counter with flour and roll out the dough to about ¼-inch thickness. Thinner treats get crunchier; thicker ones stay slightly softer in the middle.
5. Cut out shapes with cookie cutters. Bone shapes are classic, but honestly, Biscuit doesn’t care if his treats look like hearts or dinosaurs. Use what you’ve got.
6. Place treats on baking sheets about a half-inch apart. They don’t spread much, so you can pack them relatively close.
7. Bake for 25-30 minutes until the edges are golden brown and the treats feel firm to the touch.
8. For extra crunch (which dogs love for their teeth), turn off the oven and leave the treats inside for another hour to dry out completely.
9. Cool completely before sharing with your taste-tester. Warm treats are too soft and won’t store well.
Why You’ll Love It
These come together in about 10 minutes of active prep time, and the house smells amazing while they bake.
Fair warning: your dog will become obsessed. Biscuit now recognizes the sound of me opening the pumpkin can and comes sprinting from wherever he’s napping. The crunchy texture also helps clean their teeth naturally—bonus points for dental health!
2. Peanut Butter Pumpkin Crunchies (Extra Protein Power)
For the active dogs, the working breeds, or just the pups who love peanut butter like it’s their job.
Ingredients
- 1 cup pumpkin puree
- ½ cup natural peanut butter (the kind with just peanuts and maybe salt)
- 1 egg
- 1 cup whole wheat flour
- 1 cup oat flour (blend regular oats in a food processor—takes 30 seconds)
- ¼ cup ground flaxseed (omega-3s for a shiny coat)
Step-by-Step Instructions
1. Set your oven to 325°F. We’re going slightly lower and slower here for even crunchiness.
2. Combine pumpkin puree, peanut butter, and egg in a mixing bowl. The peanut butter will be thick, so mix thoroughly until smooth.
3. Add both flours and the flaxseed. This dough will be denser than the classic version because of all that peanut butter.
4. Knead the dough a few times on a floured surface. If it’s crumbly, add a teaspoon of water at a time until it comes together.
5. Roll to ¼-inch thickness and cut your shapes. I use a pizza cutter for square treats sometimes—way faster than cookie cutters when I’m feeling lazy.
6. Arrange on parchment-lined baking sheets and bake for 35-40 minutes until completely firm and the bottoms are lightly browned.
7. Optional dehydration step: Leave them in the turned-off oven for 1-2 hours to get that serious crunch factor.
Why You’ll Love It
The peanut butter flavor is intense in these, which makes them perfect for training treats. Cut them small, and you’ve got high-value rewards that dogs will work for.
IMO, these are the best option if you’ve got a picky eater—I’ve yet to meet a dog who can resist them. Plus, the added protein and healthy fats from the flaxseed make them more nutritious than most store-bought options.
3. Pumpkin Oat Bites (Grain-Friendly Goodness)
Some dogs do great with grains, and oats are particularly gentle on sensitive stomachs. These have a slightly different texture—still crunchy but with a hint of chew.
Ingredients
- 1 cup pumpkin puree
- 2 cups old-fashioned oats (not instant)
- 1 cup oat flour (or regular whole wheat flour)
- 1 egg
- 2 tablespoons coconut oil (melted)
- 1 tablespoon honey (optional, but dogs love it)
Step-by-Step Instructions
1. Preheat to 350°F and prep your baking sheets.
2. Mix pumpkin, egg, coconut oil, and honey in your bowl until well combined.
3. Stir in the oats and flour. The oats give these treats a heartier texture and excellent fiber content.
4. Let the dough rest for 5 minutes. The oats will absorb some moisture and make the dough easier to handle.
5. Roll out on a floured surface to ¼-inch thickness. These might be slightly stickier than wheat-based doughs, so dust your rolling pin generously.
6. Cut and place on baking sheets. I usually get about 30-40 treats depending on cutter size.
7. Bake for 30 minutes, then flip each treat over and bake another 10-15 minutes for even crunchiness on both sides.
8. Cool completely and store in an airtight container.
Why You’ll Love It
The coconut oil adds healthy fats that are great for your dog’s coat and skin. I started making these during winter when Pepper’s skin gets dry, and I swear his fur got shinier within a couple weeks. The oats also have beta-glucan, which supports immune health. Plus, they smell like cookies baking—your human family members might try to steal one (they’re technically edible for humans, just incredibly bland to our taste buds).
4. Savory Pumpkin Parmesan Crunch
Who says dog treats have to be sweet? This savory version appeals to dogs who prefer meaty, cheesy flavors.
Ingredients
- 1 cup pumpkin puree
- 2 ½ cups whole wheat flour
- ½ cup grated Parmesan cheese (the real stuff, not the powdered kind)
- 1 egg
- 2 tablespoons dried parsley (fresh works too, finely chopped)
- 1 teaspoon dried rosemary (crushed—helps with digestion)
Step-by-Step Instructions
1. Heat oven to 350°F with racks in the middle positions.
2. Combine pumpkin, egg, and Parmesan in a large bowl. The cheese adds a ton of flavor and some extra protein.
3. Mix in flour, parsley, and rosemary until a firm dough forms. If your Parmesan is particularly moist, you might need an extra tablespoon or two of flour.
4. Knead briefly on a floured counter, then roll to your preferred thickness. I go slightly thicker (⅓-inch) for these because the cheese makes them more fragile when thin.
5. Cut shapes and transfer to baking sheets. These spread even less than the others, so pack them close if needed.
6. Bake for 30-35 minutes until golden and firm.
7. Turn off oven and crack the door slightly, leaving treats inside for 30 minutes for extra crunch.
Why You’ll Love It
The Parmesan creates this amazing savory aroma that’s different from typical sweet dog treats. My neighbor’s dog is weirdly picky about treats, but she went nuts for these.
The herbs also provide natural breath-freshening properties—not that any dog treat will give your pup minty-fresh breath, but every little bit helps, right? FYI, these are particularly good for dogs who turn their nose up at sweet flavors.
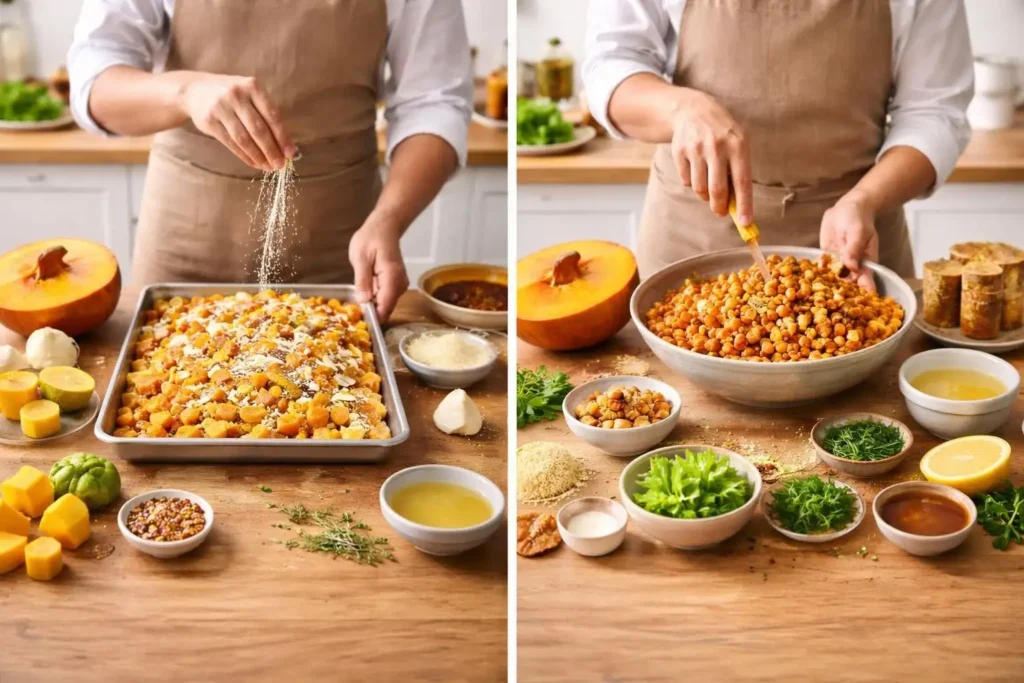
5. Grain-Free Pumpkin Chickpea Crunch
For the dogs with grain sensitivities or allergies, this recipe delivers the same satisfying crunch without wheat or oats.
Ingredients
- 1 cup pumpkin puree
- 1 ½ cups chickpea flour (also called garbanzo bean flour)
- ½ cup coconut flour
- 2 eggs
- 2 tablespoons coconut oil (melted)
- ¼ teaspoon turmeric (anti-inflammatory and safe for dogs)
Step-by-Step Instructions
1. Preheat oven to 325°F. Grain-free treats do better at slightly lower temperatures to prevent burning.
2. Whisk together pumpkin, eggs, and coconut oil until smooth.
3. Add both flours and turmeric. Coconut flour is super absorbent, so this dough will be quite thick. That’s normal.
4. Mix thoroughly until no dry pockets remain. You might need to use your hands for this one—it gets dense.
5. Roll between two pieces of parchment paper to about ⅓-inch thickness. This dough is trickier to work with than wheat-based versions, and the parchment trick makes it manageable.
6. Cut shapes carefully—grain-free dough can be more crumbly. Transfer gently to baking sheets.
7. Bake for 35-40 minutes until completely firm and lightly browned around the edges.
8. Cool slowly in the turned-off oven with the door closed for an hour for maximum crunch.
Why You’ll Love It
Chickpea flour brings extra protein and fiber to the table, making these more filling than grain-based treats. The turmeric gives them a beautiful golden color and anti-inflammatory benefits that are great for older dogs with joint issues.
Honestly, I was skeptical about grain-free baking before trying this recipe—I thought they’d fall apart or taste like cardboard—but these hold together beautifully and Biscuit and Pepper can’t tell the difference from his wheat treats. The texture is slightly denser but still perfectly crunchy.
Storage Tips That Actually Matter
You made all these amazing treats, so let’s make sure they don’t go to waste (or worse, get moldy).
✅ Room temperature storage: These treats will last 2-3 weeks in an airtight container if they’re completely dried out. The key word here is completely. If there’s any moisture left, you’re looking at mold city within a week. I learned this the hard way after a batch went fuzzy on day 10—not my finest moment :/
✅ Refrigerator storage: Pop them in an airtight container in the fridge, and you’ve got a solid 6-8 weeks of shelf life. They’ll stay crunchy, and the cool temperature prevents any bacterial growth. Biscuit and Pepper actually prefer them cold during summer—bonus refreshment factor.
✅ Freezer storage: This is where the magic happens. Freeze these bad boys in freezer bags or containers, and they’ll last 4-6 months easily. I bake double batches and freeze half, pulling out a week’s worth at a time. They thaw in about 20 minutes on the counter, or you can feed them frozen for an extra-long-lasting treat.
✅ Pro tip: Make sure your treats are completely cool before storing. Warm treats create condensation in containers, which equals moisture, which equals spoilage. Patience pays off here.
Customization Ideas (Because Every Dog is Different)
✔️ For the protein lovers: Add ¼ cup of finely crumbled cooked bacon or shredded cooked chicken to any recipe. Reduce the liquid slightly since meat adds moisture. Your dog will think you hung the moon.
✔️ For sensitive stomachs: Swap regular flour for rice flour or add a tablespoon of ground ginger (good for nausea). Skip the honey if your pup has blood sugar issues.
✔️ For senior dogs: Add glucosamine powder (follow package directions) or an extra tablespoon of ground flaxseed for joint support. Roll the dough thicker so they’re easier to chew with older teeth.
✔️ For puppies: Cut treats smaller (obviously) and maybe skip super hard crunchiness until their adult teeth are fully in. You can bake these at the lower temperature for less time to keep them slightly softer.
Allergy-friendly swaps:
- Can’t do peanut butter? Use sunflower seed butter or almond butter (also xylitol-free).
- Egg allergies? Try 1 tablespoon ground flaxseed mixed with 3 tablespoons water per egg (let it sit 5 minutes to gel).
- Pumpkin out of season? Sweet potato puree works just as well—same measurements.
Common Mistakes (So You Don’t Make Them)
⛔️ Using pumpkin pie filling instead of pure pumpkin: I cannot stress this enough. Pie filling has sugar, nutmeg, and other spices that aren’t great for dogs in large amounts. Check that can twice. It should say “100% pure pumpkin” and have exactly one ingredient.
⛔️ Not checking peanut butter labels: Xylitol is an artificial sweetener that’s toxic to dogs. Like, emergency-vet-visit toxic. Always read your peanut butter label, even if you’ve bought that brand before—companies reformulate products.
⛔️ Making treats too thick: I get it, thick treats seem more substantial. But anything over ½-inch won’t dry out properly in the middle, which means they’ll go stale or moldy faster. Thinner is better for shelf-stable crunchiness.
⛔️ Not drying them out enough: If you skip that final oven-drying step, your treats will be chewy instead of crunchy. Some dogs like that, but they won’t last as long in storage. For maximum crunch and shelf life, patience is your friend.
⛔️ Overfeeding: These are treats, not meals. Even healthy treats add calories. A good rule of thumb is that treats should make up no more than 10% of your dog’s daily caloric intake. For a 50-pound dog, that’s roughly 2-3 medium treats per day, depending on their activity level.
The Bottom Line
Making crunchy pumpkin baked dog treats isn’t complicated, expensive, or time-consuming. What it is: a simple way to show your dog some extra love while controlling exactly what goes into their body. No mystery ingredients, no questionable preservatives, just wholesome stuff that makes tails wag and stomachs happy.
Whether you go with the classic recipe, load up on peanut butter, try the savory Parmesan version, or accommodate grain sensitivities with the chickpea flour option—your dog is going to lose their mind over these. The crunchy texture helps clean teeth, the pumpkin supports digestion, and the homemade love is just the icing on the cake (or the pumpkin on the biscuit?).
Start with one recipe, see how your pup reacts, and go from there. I guarantee you’ll end up with a four-legged shadow every time you open the oven door. Biscuit is currently asleep under my desk as I write this, but the second I stand up and walk toward the kitchen, he’ll magically appear. Food-motivated dog radar—it’s real, and it’s powerful.
Your pup deserves better than mystery-ingredient treats. You’ve got the recipes, you’ve got the tips, now go make your dog’s day. Happy baking! 🐾