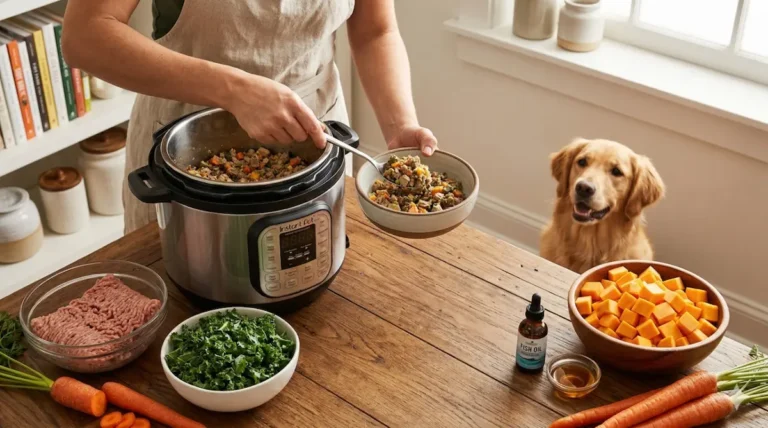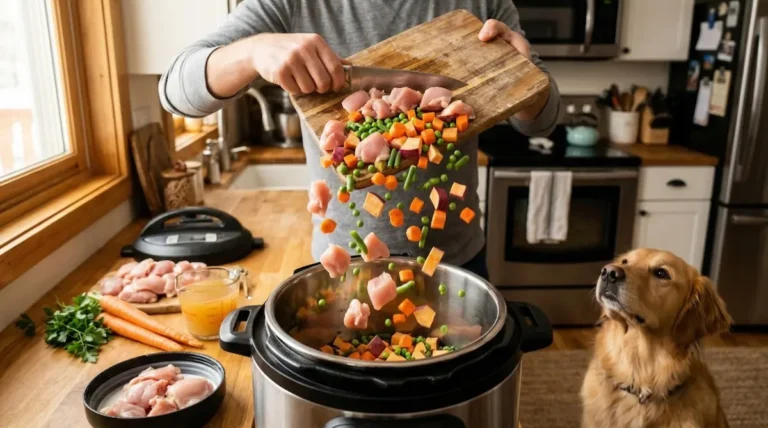
So you finally made the switch to homemade dog food. Good for you — and honestly, good for your dog too.
But here’s the thing nobody warns you about: cooking the food is the easy part. Storing it safely is where most people quietly mess things all up.
Whether someone is batch-cooking on Sundays or whipping up fresh meals daily, proper storage makes or breaks the whole homemade dog food experience.
Nobody wants to spend two hours cooking a beautiful chicken and vegetable blend only to watch it go bad in three days because it sat in the wrong container. Let’s fix that.
Why Homemade Dog Food Storage Actually Matters
Homemade dog food doesn’t have preservatives. That’s the whole point — but it also means bacteria move fast.
Unlike commercial kibble that can sit in a bag for months, fresh food follows the same rules as human food. Handle it wrong, and a dog ends up with an upset stomach at best, or a serious illness at worst.
The good news? Storing homemade dog food correctly isn’t complicated. It just requires a little intention and the right system.
Tip #1: Cool It Down Before You Store It
This one trips people up more than anything else. Never put hot food directly into the fridge or freezer.
Doing so raises the internal temperature of the fridge, which can affect other foods stored nearby — and it creates condensation inside the container, which speeds up spoilage.
The right move is to let the food cool at room temperature for no more than 30 to 60 minutes, then refrigerate or freeze it immediately. Leaving it out longer than that pushes it into the danger zone — the temperature range where bacteria multiply fastest.
Tip #2: Use Airtight, Food-Safe Containers
Not all containers are created equal. FYI, those flimsy plastic containers from the dollar store? Not ideal for storing protein-rich dog food. The goal is an airtight, BPA-free container that locks out air and moisture.
Some solid options include:
- Glass containers with locking lids — easy to clean, no odor absorption, great for the fridge
- Silicone freezer trays — perfect for portioning individual meals before freezing
- Heavy-duty freezer bags — space-efficient and good for longer-term freezing if the air gets squeezed out completely
IMO, glass containers win every time for fridge storage. They don’t stain, they don’t hold smells, and they feel a little more trustworthy than plastic when it comes to food safety.
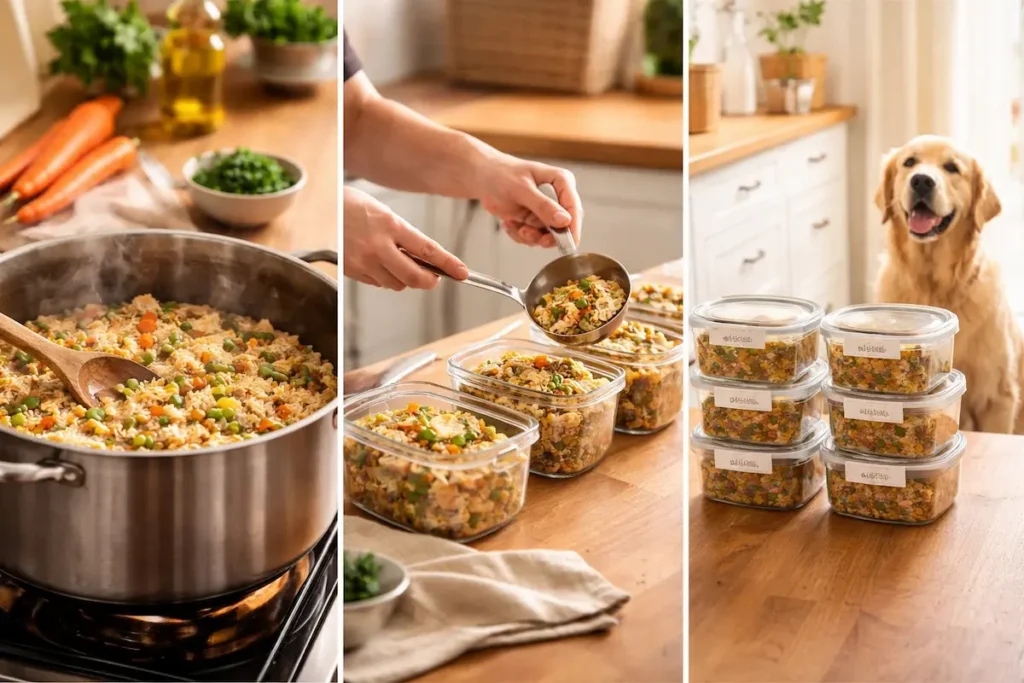
Tip #3: Portion Before Storing
Here’s something that saves a ton of time later: portion the food before it goes into storage. Dividing it into single-meal servings means no scooping from a giant container every day, no guessing about quantities, and less exposure of the full batch to air and bacteria each time the lid comes off.
A good trick is to use a kitchen scale or measuring cups to portion consistently. This matters especially for dogs on a specific diet plan or weight management program — precision adds up over time.
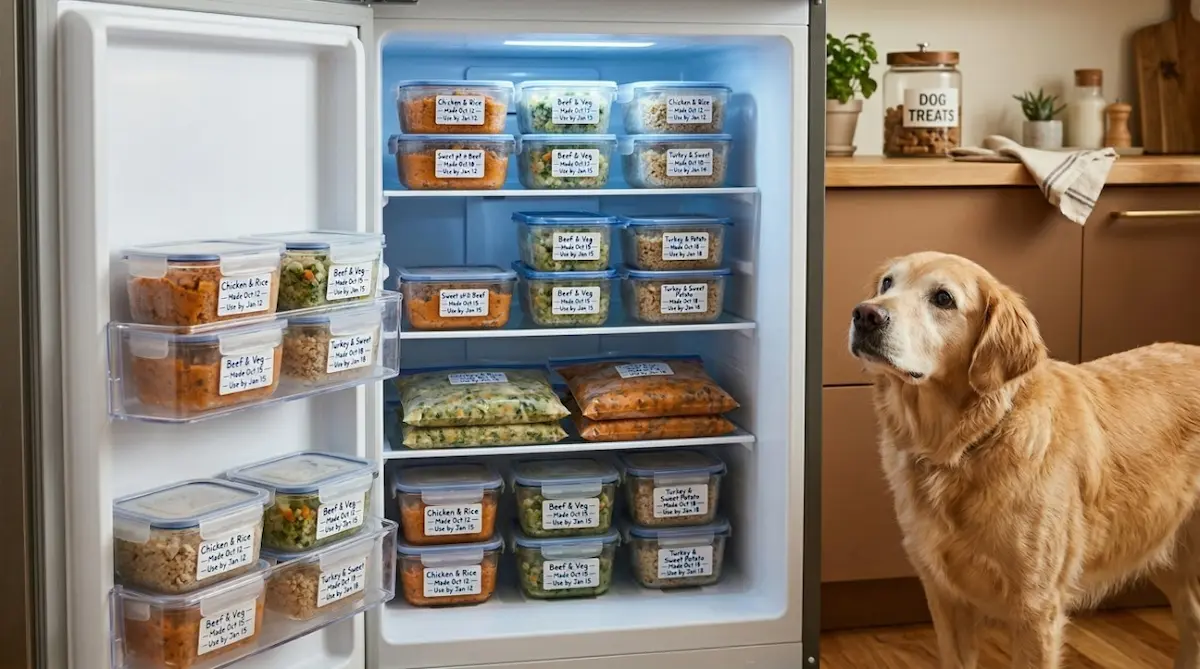
Tip #4: Label Everything
This sounds almost embarrassingly simple, but people skip it constantly — and then they’re standing in front of the freezer trying to remember if that bag was made two weeks ago or two months ago :/
Label every container with the date it was made and the ingredients it contains. A simple piece of masking tape and a marker works perfectly.
This habit becomes even more important when multiple recipes rotate throughout the month, especially if the dog has food sensitivities.
Tip #5: Follow the Fridge Timeline
Refrigerated homemade dog food stays safe for 3 to 5 days max. Some owners push it to 6, but that’s a gamble — especially in warmer months or if the fridge runs a little warm.
A simple system:
| Days 1–3 | Fridge meals, fresh and good to go |
| Days 4–5 | Use it or move it to the freezer |
| Day 6+ | When in doubt, throw it out |
That last point isn’t just a rhyme — it’s the rule. A dog can’t tell anyone when something tastes off, so the human has to make that call.
Tip #6: Freeze in Portions, Not Blocks
Freezing a giant block of dog food and then trying to thaw the right amount each day is a recipe for frustration. Freeze in individual or two-serving portions so thawing is quick, easy, and waste-free.
Silicone molds work brilliantly here. Pour the cooled food into the molds, freeze until solid, then pop the portions out and transfer them into a labeled freezer bag.
The food stays fresh in the freezer for up to 3 months, though most homemade dog food enthusiasts aim to use it within 2 months for the best nutritional quality.
The Freezing Guide: Step by Step
This is the part that ties everything together. Here’s a clean, simple freezing process anyone can follow:
Step 1: Cook and Cool
Prepare the batch as usual. Let it cool at room temperature for 30 to 60 minutes. Don’t rush this.
Step 2: Portion It Out
Use a scale or measuring cups to divide the food into single-meal portions. Consistency here makes daily feeding much easier.
Step 3: Fill the Molds or Bags
Spoon portions into silicone molds, individual containers, or freezer bags. If using bags, press out as much air as possible before sealing.
Step 4: Label Before Freezing
Write the date and recipe name on each container or bag before it goes in the freezer. Label it while the hands are free — not while juggling a cold bag later.
Step 5: Freeze Flat
If using freezer bags, lay them flat until fully frozen. This saves a huge amount of space and makes stacking much easier.
Step 6: Thaw Safely
Move a portion from the freezer to the fridge the night before it’s needed. Never thaw on the counter at room temperature — that’s just asking for bacteria to throw a party. Thawed food stays good in the fridge for up to 24 hours.
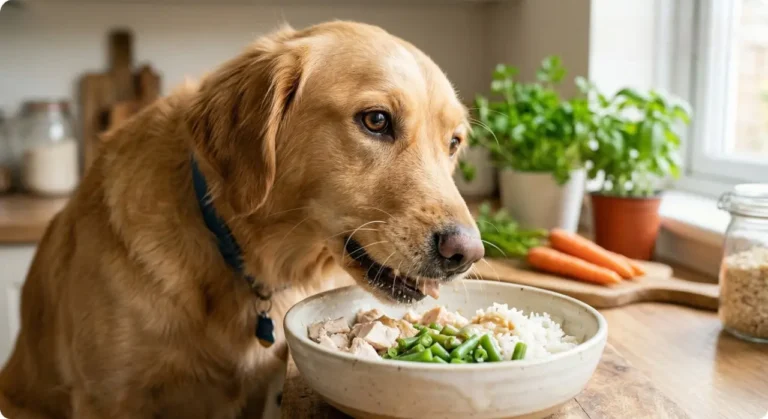
Step 7: Serve at the Right Temperature
Cold food straight from the fridge can be unappetizing for some dogs. Let the portion sit out for 10 to 15 minutes before serving, or warm it slightly in the microwave and stir well to eliminate hot spots.
Tip #7: Do a Weekly Fridge Check
Every week, before batch cooking a fresh round, do a quick audit of what’s left in the fridge and freezer.
Check labels, check dates, check that nothing looks or smells off. This takes about two minutes and prevents wasting food — or worse, accidentally feeding spoiled food to a dog who trusts you completely.
Think of it like cleaning out a human fridge, but with slightly higher stakes because a dog can’t read the label themselves and complain about it.
Signs the Food Has Gone Bad
Even with the best storage practices, knowing the warning signs matters. Toss the food immediately if any of these show up:
- Sour or off smell — trust the nose on this one
- Visible mold — any color, any amount
- Slimy texture — fresh food shouldn’t feel slippery
- Discoloration beyond normal browning from cooking
When something looks wrong, it probably is. A dog’s health is never worth the risk of one saved portion.
Final Thoughts
Homemade dog food is one of the best things an owner can do for their pup — but only if the storage side of things gets handled properly.
Cooling it down, portioning correctly, using the right containers, labeling everything, and following freezer best practices — these seven habits turn a good intention into a genuinely safe and sustainable routine.
The freezing guide especially makes batch cooking worth it. Spend a couple of hours one day a week, freeze it right, and feeding a fresh homemade meal every single day becomes completely manageable.
Now go make that batch — and actually label it this time. 🙂