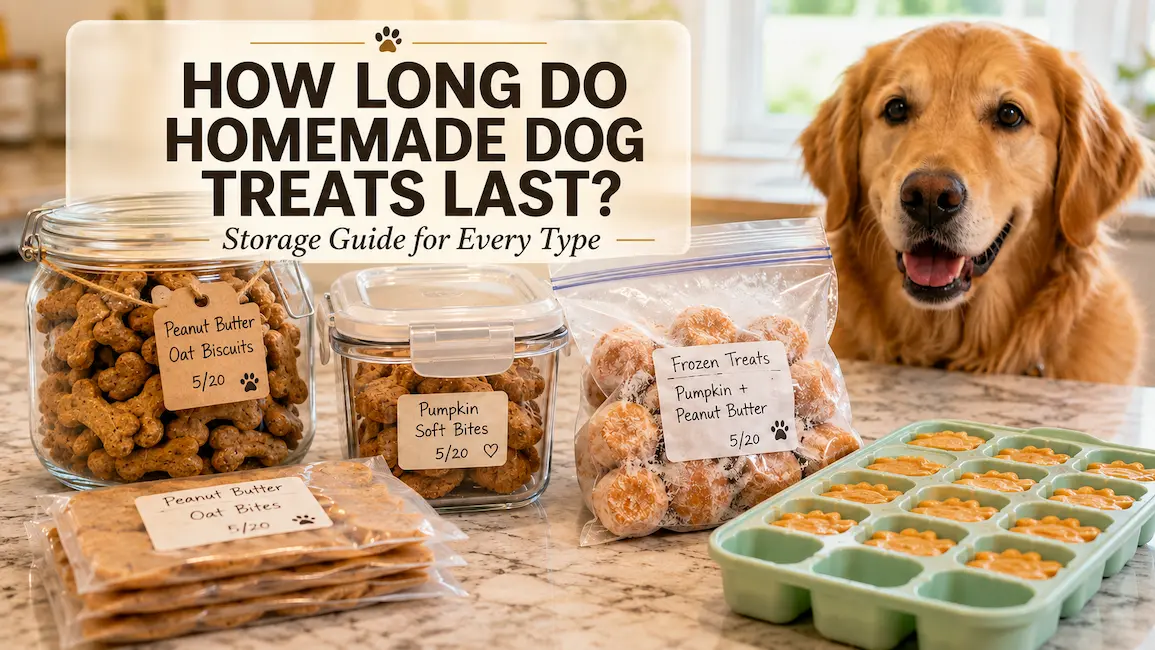
Homemade dog treats can be wonderfully simple to make, but they usually do not contain the preservatives found in many packaged treats. That means how you store them matters just as much as what goes into them.
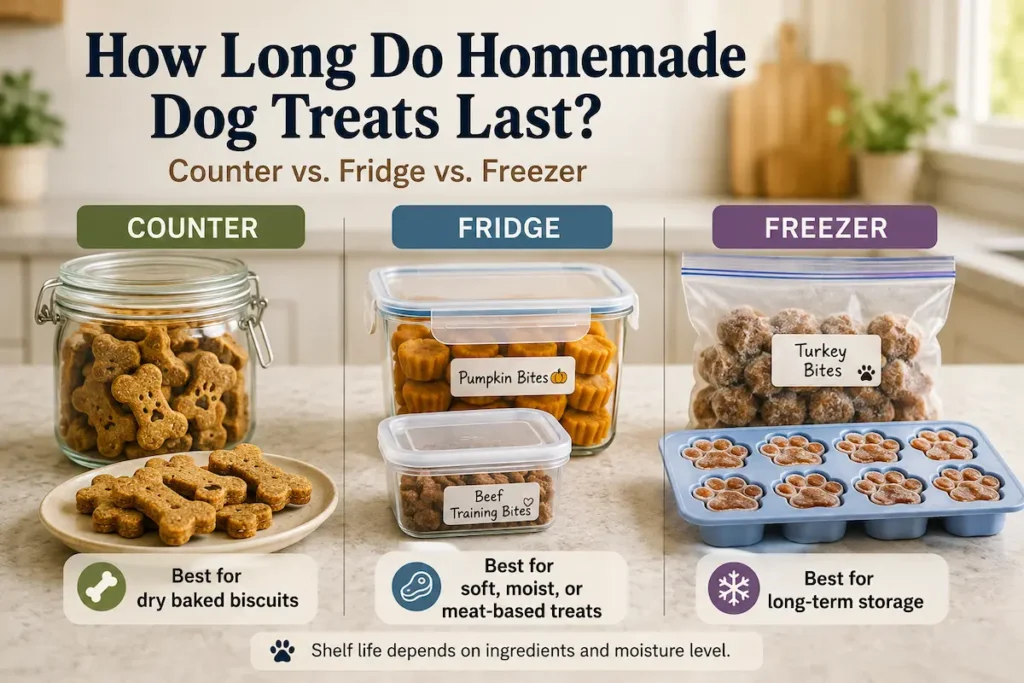
Some dry, crunchy biscuits can stay fresh for several days at room temperature. Soft pumpkin bites, meat-based training treats, yogurt snacks, and other moist recipes usually need the refrigerator or freezer much sooner.
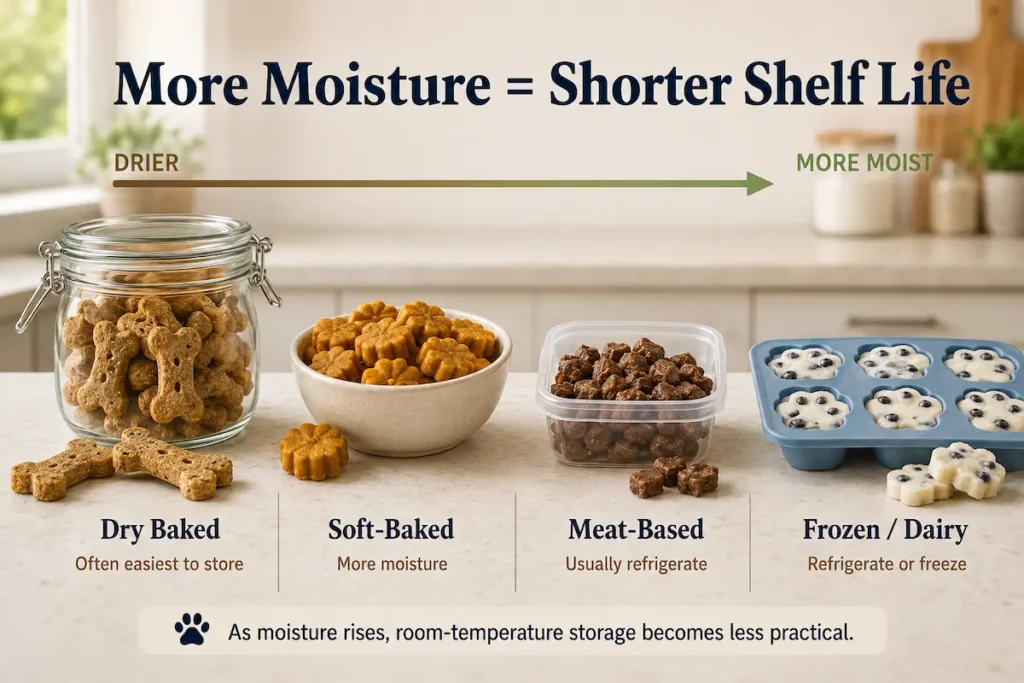
The easiest rule to remember is this: the more moisture and perishable ingredients a treat contains, the more carefully it needs to be stored.
Here is how to decide where your latest batch belongs and how long you can reasonably expect it to last.
🦴 How Long Do Homemade Dog Treats Last?
There is no single shelf-life number that works for every homemade dog treat.
A dry baked biscuit made mostly from flour and peanut butter behaves very differently from a soft treat made with pumpkin, egg, chicken, or yogurt. Even two recipes that look similar can have different moisture levels after baking.
The American Kennel Club also notes that homemade treat storage time depends on the recipe. Some treats may keep for several days in the refrigerator, while others are better suited to freezing for longer storage.
Use this chart as a practical starting point rather than an expiration-date guarantee.
| Homemade treat type | Counter | Refrigerator | Freezer |
|---|---|---|---|
| Dry baked biscuits | Often several days, recipe dependent | Optional for longer storage | Yes |
| Soft baked treats | Usually short-term only | About several days | Yes |
| Meat- or fish-based treats | Avoid for extended storage | Usually about 3–4 days | Yes |
| Dairy-rich treats | Avoid for extended storage | Usually several days | Yes |
| No-bake treats | Recipe dependent | Usually recommended | Yes |
| Frozen treats | No | Not for normal storage | Yes |
| Moist training treats | Only during short use periods | Usually recommended | Yes |
For highly perishable treats containing cooked meat, poultry, seafood, eggs, or similar ingredients, it is sensible to follow conservative cooked-food handling principles.
USDA guidance recommends refrigerating perishable cooked foods promptly and generally using refrigerated leftovers within three to four days.
When you are unsure whether a homemade treat belongs on the counter, refrigerating or freezing it is usually the safer choice.
🐾 How to Store Different Types of Homemade Dog Treats
The best storage method depends less on whether something is called a “dog biscuit” or “dog treat” and more on its moisture, ingredients, and cooking method.
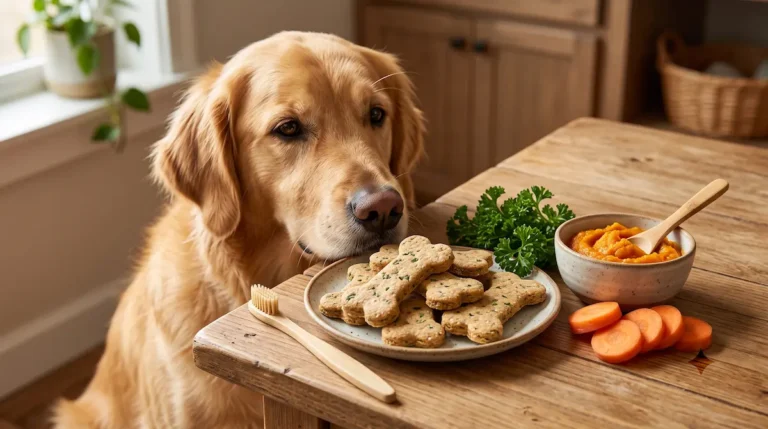
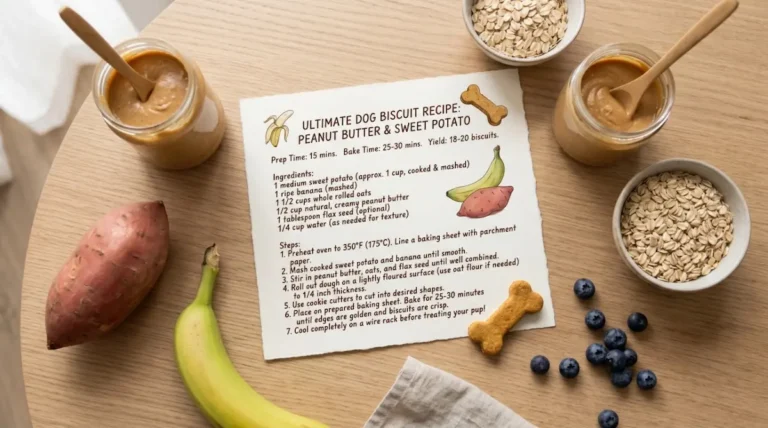
🥨 Dry Baked Dog Treats
Crunchy biscuits are usually the easiest homemade treats to store.
These may include:
- Peanut butter biscuits
- Oat-based treats
- Dry pumpkin biscuits
- Crunchy sweet potato treats
- Flour-based cutout biscuits
Because baking removes moisture, a thoroughly baked crunchy biscuit may tolerate room-temperature storage better than a soft or chewy treat.
For example, one AKC baked banana, oatmeal, and peanut butter dog treat recipe recommends cooling the treats completely and keeping them in an airtight container for up to one week.
That does not mean every homemade biscuit has the same shelf life, but it illustrates how a dry baked recipe can differ from a moist one.
For best results:
- Let the treats cool completely.
- Check that they are dry rather than noticeably moist in the center.
- Transfer them to a clean airtight container.
- Keep the container somewhere cool and dry.
- Refrigerate or freeze extras you will not use soon.
🎯 How to Keep Homemade Dog Biscuits Crunchy
One of the biggest enemies of crunchy treats is trapped moisture.
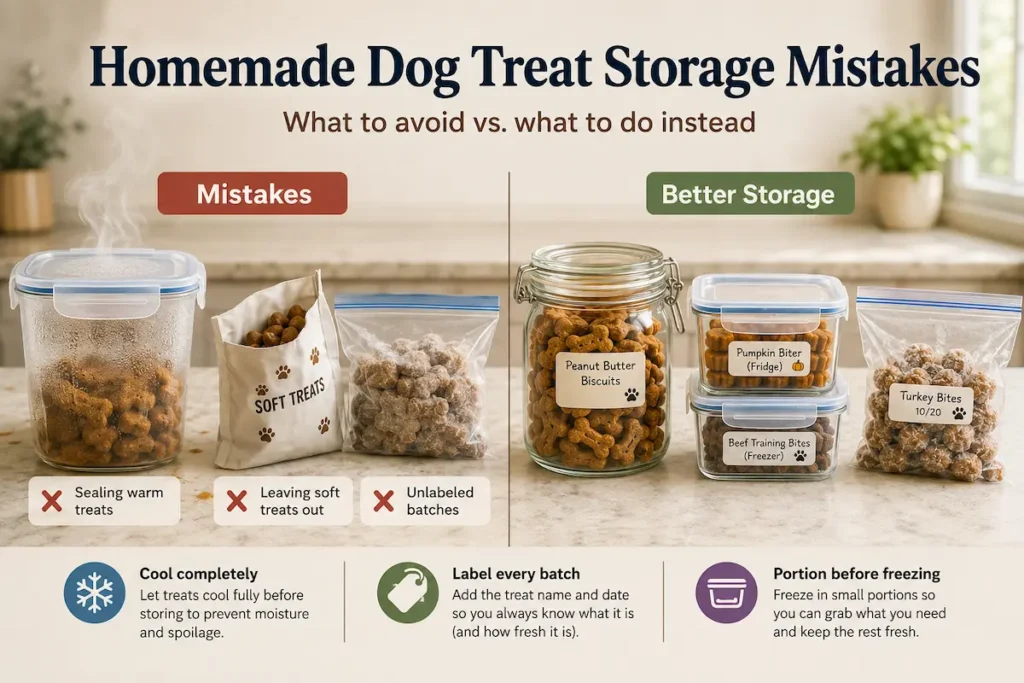
If warm biscuits go straight into a sealed container, condensation can form inside. That extra moisture may soften the treats and create conditions that encourage spoilage.
Allow the entire batch to reach room temperature before packing it away.
Humidity matters too. A biscuit that stays crisp for days in a dry kitchen may soften much faster in a warm, humid environment.
If you make a large batch, keep only a small working supply out and freeze the rest rather than repeatedly opening one large container.
If you prefer crisp, crunchy treats, try our homemade dog biscuit recipes for more baked options that are well suited to this type of storage.
🍪 Soft-Baked Dog Treats
Soft treats need a different approach.
Recipes made with ingredients such as:
- Pumpkin puree
- Mashed banana
- Sweet potato
- Egg
- Applesauce
- Meat
- Cottage cheese
often retain considerably more moisture than crunchy biscuits.
That soft texture can be wonderful for puppies, senior dogs, picky eaters, or dogs that simply prefer tender treats, but it generally means a shorter room-temperature shelf life.
Rather than trying to make soft treats last on the counter, cool them and transfer them to a covered refrigerator container.
Make only enough for the next few days available in the refrigerator and freeze the remainder in small portions.
This works particularly well when batch-making homemade pumpkin dog treats, mini muffins, or other soft bites.
🍗 Meat-Based Dog Treats
Chicken, turkey, beef, fish, sardine, and liver treats should be treated more like cooked food than like shelf-stable biscuits.
Even if a meat treat has been baked, the finished recipe may still contain enough moisture to require refrigeration.
USDA recommends keeping the refrigerator at 40°F (4°C) or below and generally using properly refrigerated cooked leftovers within three to four days.
For homemade meat treats, a simple routine works well:
Cook → Cool → Portion → Refrigerate or freeze
If you make liver or chicken treats for training, consider freezing them in several small bags instead of one large batch. Move one portion to the refrigerator as needed.
That way, you are not repeatedly warming and cooling the entire batch.
If your dog loves savory treats, our homemade bacon dog treats are another good example of a meat-based recipe that benefits from proper cooling, refrigeration, and portioned storage.
🧀 Dairy-Based Dog Treats
Treats made with yogurt, cottage cheese, or substantial amounts of other dairy ingredients should also be handled more carefully than a dry biscuit.
Examples include:
- Greek yogurt bites
- Yogurt and fruit treats
- Cottage cheese snacks
- Soft cheese-based training treats
These are generally better candidates for refrigeration or freezing.
Do not assume that adding a dairy ingredient to a baked recipe automatically makes the final treat unsafe at room temperature. The entire recipe and final moisture level matter.
At the same time, “it was baked” does not automatically mean “it is shelf-stable.”
When a homemade treat remains moist, soft, or dairy-heavy after cooking, refrigerating it is the simpler choice.
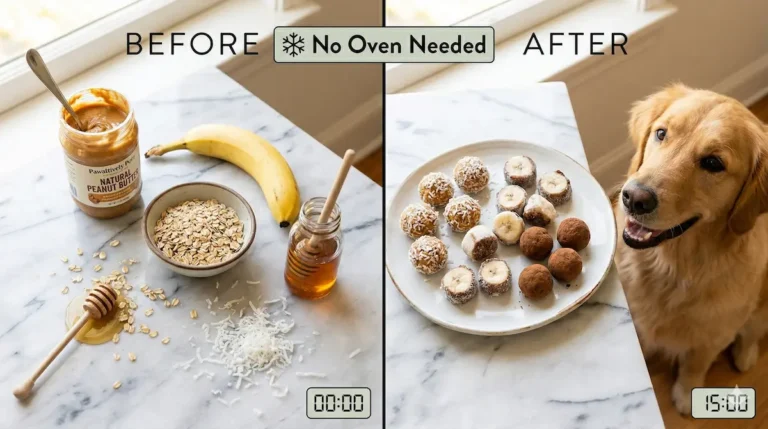
🥥 No-Bake Dog Treats
No-bake treats are convenient, but “no bake” should not be confused with “shelf stable.”
Many no-bake recipes use moist ingredients such as:
- Pumpkin
- Banana
- Peanut butter
- Yogurt
- Coconut
- Fruit puree
Without a baking step to remove water, these treats can remain quite moist.
Most soft no-bake recipes are therefore better stored in the refrigerator or freezer unless the specific recipe has been designed for room-temperature storage.
If you are making a batch from one of our easy 3-ingredient dog treat recipes, check the ingredients rather than assuming all three-ingredient treats can be stored the same way.
A peanut butter-and-oat bite and a yogurt-and-banana bite can have very different storage needs.
❄️ Frozen Dog Treats
Some homemade treats are meant to live in the freezer from the beginning.
Frozen pumpkin bites, yogurt treats, fruit snacks, and frozen enrichment portions are excellent examples.
The easiest way to keep them usable is to freeze them individually first.
Try this method:
- Fill the mold or form individual portions.
- Freeze until completely firm.
- Remove the pieces from the mold.
- Transfer them to a freezer-safe container or bag.
- Remove as much excess air as practical.
- Label the container with the recipe and date.
Freezing the treats individually prevents your carefully portioned snacks from becoming one giant frozen block.
The FDA recommends keeping freezers at 0°F (-18°C) or below. Freezing can preserve food for a long time, although quality can gradually decline during extended storage.
For homemade dog treats, freezing smaller batches that you can rotate through over the next several weeks or months is usually more practical than trying to keep an enormous supply indefinitely.
Looking for more treats designed specifically for freezer storage? Try these homemade frozen dog treats for easy make-ahead snack ideas.
🎓 Homemade Training Treats
Training treats create a storage problem that full-size biscuits often do not.
You may take them:
- On walks
- To training classes
- Into the backyard
- In the car
- Inside a treat pouch for repeated sessions
Dry training treats are relatively easy to manage.
Moist chicken, turkey, liver, cheese, or other perishable training bites deserve more attention.
Instead of filling your treat pouch directly from the entire refrigerated batch, portion out only what you expect to use during that session.
Perishable prepared foods should not sit unrefrigerated for extended periods. FDA and USDA guidance uses a two-hour limit for many perishable foods at normal room temperature and one hour when temperatures exceed 90°F.
A hot car, summer walk, or sunny training field can therefore change the situation quickly.
Bring a small amount, use what you need, and avoid repeatedly returning warm, handled treats to the main container.
If you regularly reward your dog during walks or training sessions, see our homemade dog training treats for small, practical treat ideas designed for frequent rewarding.
🧊 Refrigerator vs. Freezer: Which Should You Use?
Not every homemade treat needs to go straight into the freezer.
The refrigerator makes sense when you expect to use the treats within the next few days.
✅ Choose the refrigerator when:
- You made a small batch.
- The treats are soft or moist.
- They contain perishable ingredients.
- You need them ready for daily training.
- Your dog will finish them soon.
✅ The freezer is more useful when:
- You batch-prep treats.
- The recipe makes dozens of pieces.
- You have a small dog that will not finish them quickly.
- The treats contain meat, fish, dairy, fruit, or vegetable puree.
- You want to reduce food waste.
For larger batches, a combination usually works best.
Keep one small container in the refrigerator and freeze everything else.
When the refrigerator container gets low, move another small portion from the freezer.
📦 The Best Containers for Homemade Dog Treats
You do not need special dog-treat storage equipment.
What matters most is choosing a container appropriate for the treat.
Airtight Containers
These work particularly well for dry baked biscuits because they help protect the treats from environmental moisture.
Only seal treats after they have cooled completely.
Refrigerator Containers
Use clean, covered food-safe containers or sealed storage bags for refrigerated treats.
FDA guidance similarly recommends storing refrigerated foods covered or in sealed bags.
Freezer Bags or Freezer-Safe Containers
These make it easy to separate a large batch into smaller portions.
If using bags, remove excess air before sealing.
Silicone Molds
Silicone molds are useful for yogurt, pumpkin, broth, fruit, and other frozen treats.
Once the treats are fully frozen, you can usually remove them from the mold and transfer them to a bag to free up freezer space.
Remember, however, that a good container does not turn a perishable treat into a shelf-stable one.
Storage temperature still matters.
🏷️ How to Batch, Label and Portion Homemade Treats
You do not need an elaborate meal-prep system.
A five-step routine is enough:
Make → Cool → Portion → Label → Chill
For a large batch, divide treats into portions containing roughly a few days’ worth rather than putting everything into one container.
Label each freezer portion with:
- Treat name
- Date made
- Optional main ingredients
The ingredient note can be especially useful if you regularly rotate different homemade recipes.
It also saves you from opening a mystery freezer bag three weeks later and wondering whether those orange cubes contain pumpkin, sweet potato, or something completely different.
Small portions also mean less repeated exposure to room-temperature air every time you need a treat.
🚨 How Can You Tell Homemade Dog Treats Have Gone Bad?
Storage estimates are useful, but you should still check homemade treats before feeding them.
Discard a batch if you notice:
- Visible mold
- An unusual or sour odor
- Slimy texture
- Unexpected stickiness
- Excess condensation
- Unexplained color changes
- A major change in texture combined with other spoilage signs
The FDA’s simple food-safety principle works well here too: when in doubt, throw it out.
Do not simply cut mold from one section of a soft homemade treat and feed the rest of the batch.
It is rarely worth gambling with questionable food to save a handful of treats.
⚠️ 7 Homemade Dog Treat Storage Mistakes to Avoid
Even a good recipe can spoil sooner when it is stored poorly.
1️⃣ Packing Treats While They Are Still Warm
Warm treats can release steam inside a closed container.
Allow baked treats to cool completely before packing.
2️⃣ Treating Soft Bites Like Dry Biscuits
A soft pumpkin bite and a crunchy biscuit may look equally “baked,” but their moisture levels can be very different.
Store according to texture and ingredients rather than appearance alone.
3️⃣ Assuming Anything Baked Is Shelf-Stable
Cooking helps, but it does not automatically remove enough moisture to make every recipe safe for extended countertop storage.
4️⃣ Freezing the Entire Batch Together
Fifty treats frozen into one solid mass are difficult to portion.
Freeze pieces individually or divide the batch into smaller packages.
5️⃣ Leaving Moist Training Treats in a Pouch All Day
A treat pouch is convenient, not refrigerated storage.
Only bring what you expect to use.
6️⃣ Forgetting to Date Your Batches
Freezer bags can look surprisingly similar after a few weeks.
A simple date removes the guesswork.
7️⃣ Trying to Stretch Shelf Life Too Far
Homemade treats are easy to make again.
When a batch looks, smells, or feels questionable, discard it rather than trying to get “one more day” from it.
🥕 Does the Recipe Change How Long Treats Last?
Absolutely.
Two homemade dog treats stored in identical containers can have very different shelf lives.
Here are some of the ingredient differences that matter most.
Pumpkin or Banana Treats
Pumpkin puree and mashed banana add moisture.
Soft treats containing these ingredients generally benefit from refrigeration or freezing.
A dry, thoroughly baked pumpkin biscuit may behave differently, which is why the finished texture matters as much as the ingredient name.
Peanut Butter Treats
Peanut butter itself does not determine the shelf life of the finished treat.
A dry baked peanut butter biscuit is different from a soft no-bake peanut butter and banana bite.
Always check that any peanut butter used for dogs is free from xylitol, which is toxic to dogs.
If peanut butter is one of your dog’s favorites, our easy peanut butter dog treats include several baked, no-bake, and freezer-friendly ideas you can make at home.
Egg-Based Treats
Egg can help bind baked recipes, but soft egg-containing treats should not automatically be treated like shelf-stable cookies.
If the finished treat remains moist, refrigeration is the more cautious approach.
Meat or Fish Treats
Treats containing chicken, turkey, beef, liver, salmon, sardines, or other animal proteins deserve conservative storage.
Cool them promptly, refrigerate what you will use soon, and freeze the remainder.
Very Dry Biscuits
Low-moisture crunchy biscuits generally have the best potential for short-term room-temperature storage.
Even then, humidity, recipe composition, container choice, and how thoroughly the biscuit was baked all matter.
So rather than asking only:
“What ingredient is in this treat?”
Ask three questions:
How moist is it? What perishable ingredients does it contain? How was it cooked?
Those answers give you a much better idea of where the batch belongs.
🔗 Storing Homemade Dog Treats vs. Homemade Dog Food
Homemade dog food and homemade treats share some basic food-safety principles, but they should not be stored exactly the same way.
Prepared homemade meals are generally moist, perishable foods that are refrigerated or frozen in meal-sized portions.
Homemade treats cover a much wider range.
A crunchy biscuit may tolerate short-term pantry storage, while a chicken training bite or yogurt treat behaves more like refrigerated food.
If you also batch-cook meals for your dog, see our Homemade Dog Food Storage for meal-specific refrigeration, freezing, portioning, thawing, and waste-reduction tips.
🦴 Quick Takeaway: Store by Moisture, Not Just by Recipe Name
You do not need to memorize a different shelf life for every homemade dog treat recipe.
Start with four simple rules:
Dry and crunchy: may be suitable for short-term room-temperature storage.
Soft and moist: usually better refrigerated.
Meat, fish, or dairy-rich: refrigerate promptly or freeze.
Large batch: freeze in smaller portions and thaw only what you need.
When a recipe gives specific storage instructions, follow those first. Otherwise, consider the moisture level and ingredients, keep perishable treats cold, and do not try to stretch the life of a questionable batch.
A little planning at storage time can keep homemade treats fresher, make training and snack time easier, and help prevent an afternoon of baking from turning into a bag of wasted treats.